If there’s one thing you shouldn’t overlook in your videos, it’s audio quality.
Audiences will forgive poor video quality. Even if you film something on a potato, people will still watch if it’s interesting. After all, pretty much everything uploaded to YouTube back in 2005-2006 was potato-quality!
However, audio is a different story. Bad video is merely ugly; bad audio is painful. If you’re going to focus on improving one of the two, focus on audio first.
I’ll note that your audio doesn’t have to be perfect. Gear nerds like me love to strive for this Platonic “ideal” for audio quality, but in reality, your audio just needs to meet a minimum standard. Take a listen to some of the most popular YouTubers out there; you’ll notice their audio quality isn’t on the level of a professionally-produced audiobook or podcast. It’s simply good enough.
Here are a few boxes you should strive to tick with your audio:
- “Normalized” loudness – i.e. it should be roughly as loud as other popular content (so viewers don’t have to adjust volume), and within the video, the quiet parts and loud parts shouldn’t be too different (this is called dynamic range, and you adjust it through compression).
- Eliminate “plosives” – harsh spots of distortion caused by “p”, “b”, and “t” sounds going directly into the mic
- Equalization – don’t let one part of the frequency range overtake the others
- Minimized sibilance – the sound an “s” makes can be very harsh on the ears, depending on the speaker, mic used, and mic placement. Use a de-esser to manage this.
On this page, I’ll be collecting some of my own observations for achieveing better audio quality. Note that I am a nerd, so the stuff I do may be overkill compared to your needs. Still, I hope you find my observations helpful.
Copy link to headingMic Placement
In general, you want to place your microphone as close to your audio source as possible.
You can get too close (unless you’re making ASMR content), but in general, most people put the mic too far away – and then wonder why their audio sounds bad.
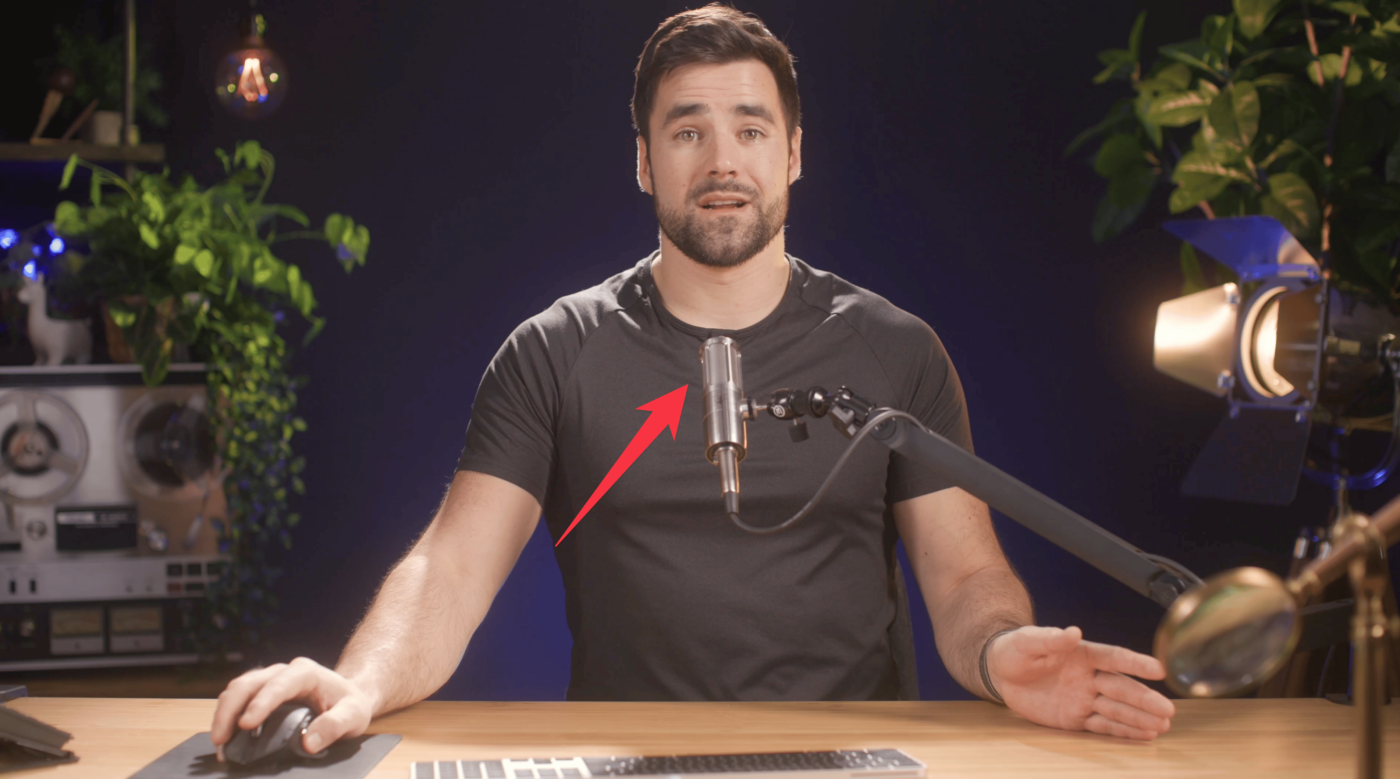
For this reason, I tend to shoot with my mic directly in the frame. I’ve experimented with different configurations for years, and the truth is unavoidable – even a $1,600, Hollywood-level shotgun mic positioned out of frame won’t sound as good as a $200 podcast mic that’s only a few inches from my face.
Copy link to headingEliminating Plosives
I recently found myself dealing with plosive problems in my audio. As you may have seen, I shoot my videos with my mic directly in the frame, close to my mouth. For the type of content I create, I value the warmth and overall audio quality this achieves over keeping the mic out of the frame.
However, I kept getting these harsh “b” and “p” sounds in my audio, which would blow out the mic and sound awful.
Here’s why it was happening – I had my mic directly in front of me. This meant I was speaking into the mic, which allowed the more powerful sound waves generated by the plosives to slam directly into the microphone.
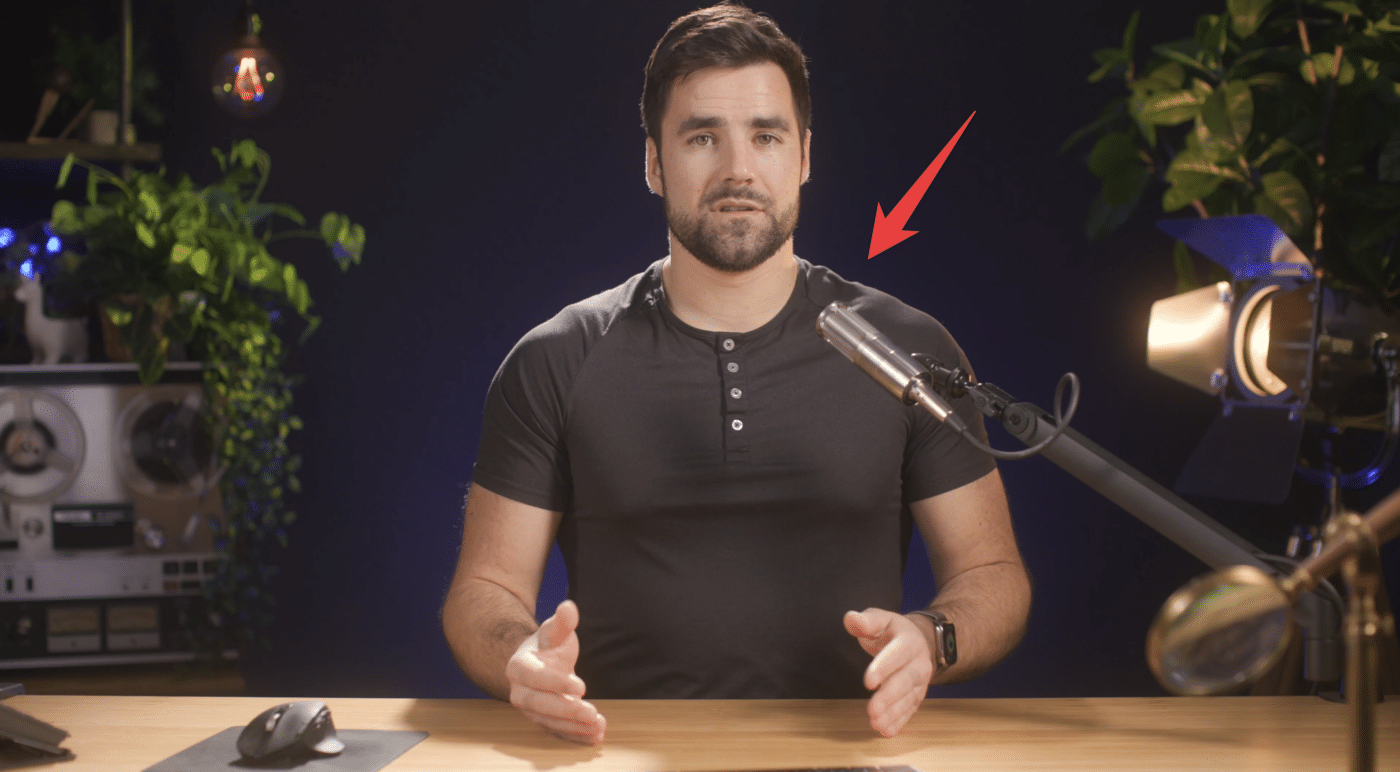
The fix was simple. I just moved the mic slightly to my left, while still keeping it pointed at my face.
Now, I’m talking across the mic, rather than directly into it. The mic is still pointed at the source (my mouth), but it’s not directly in the path of the sound waves.
This change causes a slight reduction in the overal warmth and body of the audio’s character, but it’s not very noticeable.
Copy link to headingSystem-Wide Audio Quality
I use to use a suite of effects directly in OBS to improve my mic audio quality. However, that meant any videos I recorded on other apps – like Loom or Cleanshot for quick social media videos – sounded way worse.
Additionally, OBS doesn’t support all VST plugins. I own several plugins that I just can’t use in OBS for whatever reason.
My solution to both problems is the combination of two awesome Mac apps by the same developer: Audio Hijack and Loopback.
Audio Hijack lets you create an input device from any audio source, route it through effects and other tools, and output in a variety of ways. A lot of folks use to record audio from other apps, like the browser. I use it differently; I bring in my hardware audio interface as the input device, then route it through a series of effects, and finally output the signal to a virtual device called Mic Enhancer Pass-Through.
That virtual device is created in Loopback, which turns it into an input device I can select in any app – just like the actual audio interfaces plugged into my computer.
This means I can select the Mic Enhancer Pass-Through devices as my “mic” in OBS, Zoom, Cleanshot, Loom, or any other app, and I’ll get studio-quality audio thanks to the effects chain I’ve built in Audio Hijack.
Rogue Amoeba has their own tutorial for creating this setup:


