
In this Notion Fundamentals lesson, you’ll learn all about blocks, which are one of Notion’s most essential tools.
What is a block? Put simply, a block is a basic unit of data. Notion’s official explanation (from their pricing FAQ):
“A block is any single piece of content you add to your page, like a paragraph of text, a to-do item, an image, a code block, an embedded file, etc.”
Think of blocks like LEGO pieces. By adding blocks together, you can build more complex – and more useful – things.
When you build with LEGOs, you have access to lots of different types of pieces – short pieces, long pieces, thick pieces, and special pieces for that Star Wars X-Wing kit you lost the instructions for months ago.
The same is true in Notion, which gives you access to many different block types. All of the following are blocks:
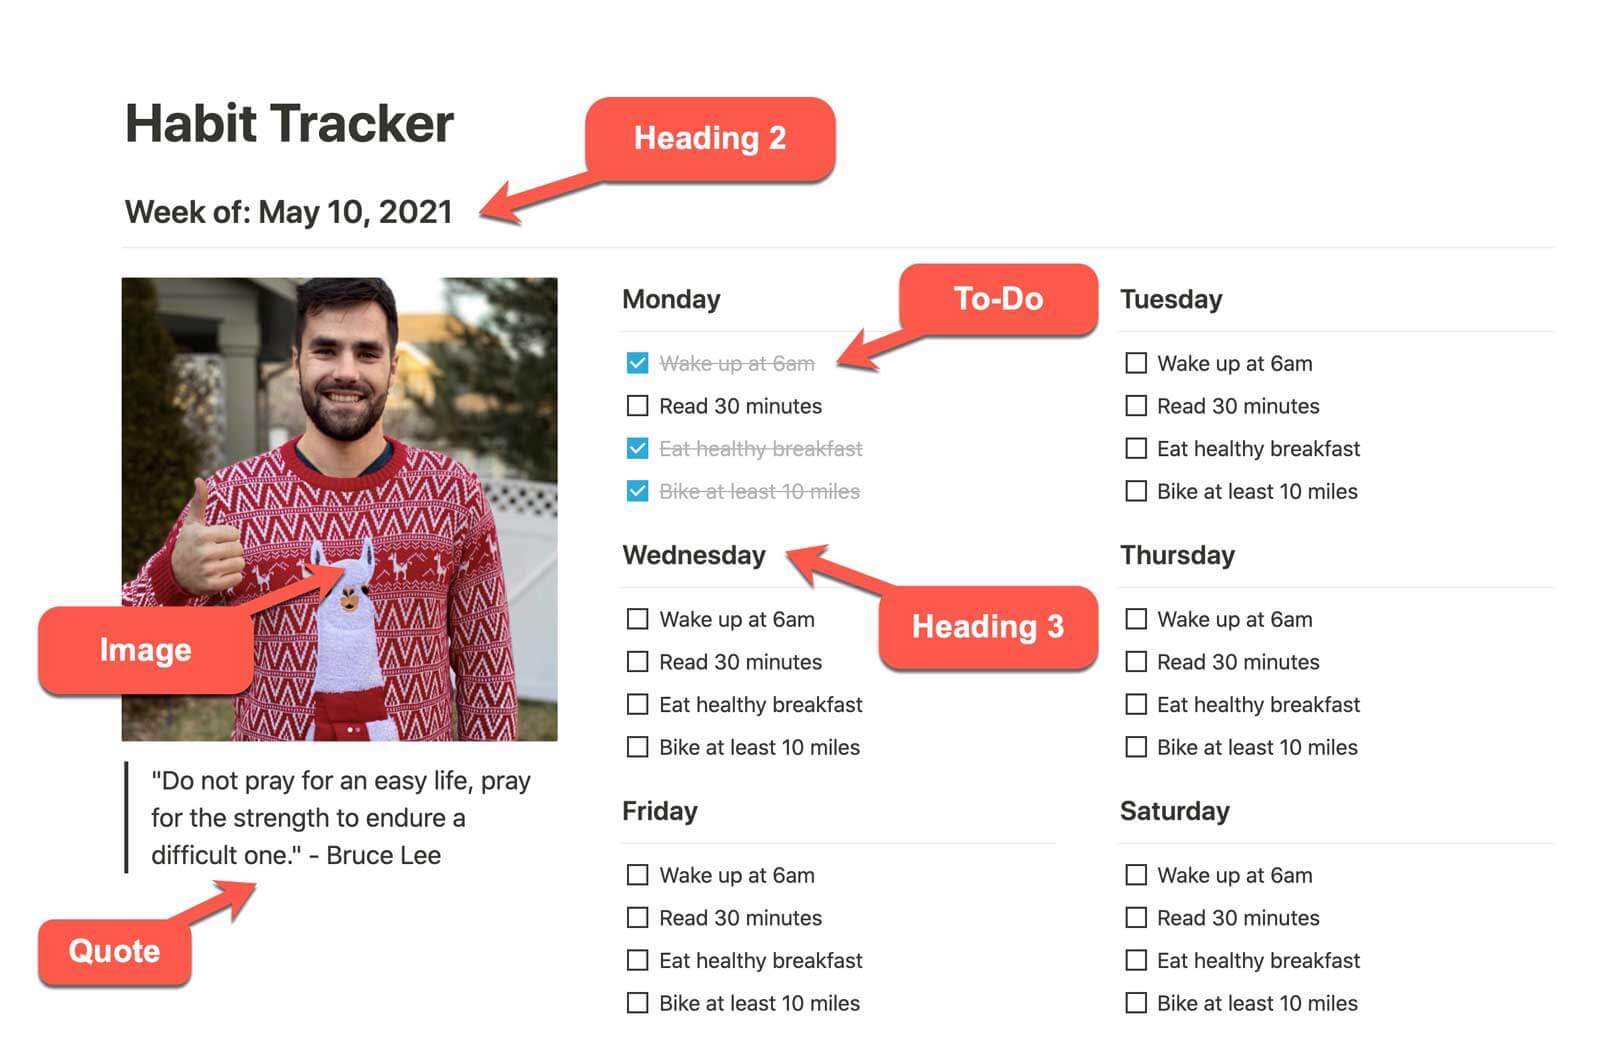
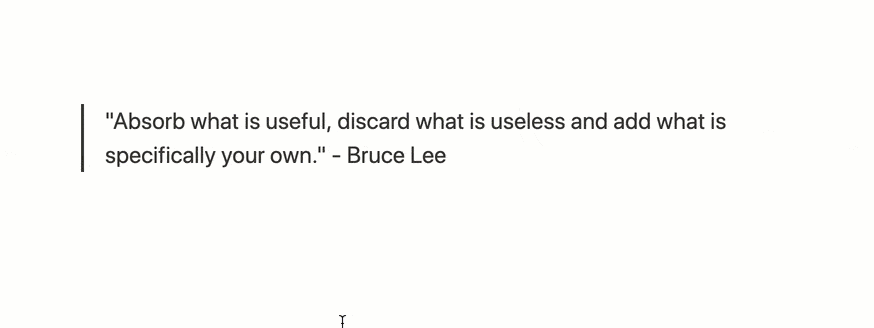
- A paragraph of text
- An image
- An embedded YouTube video
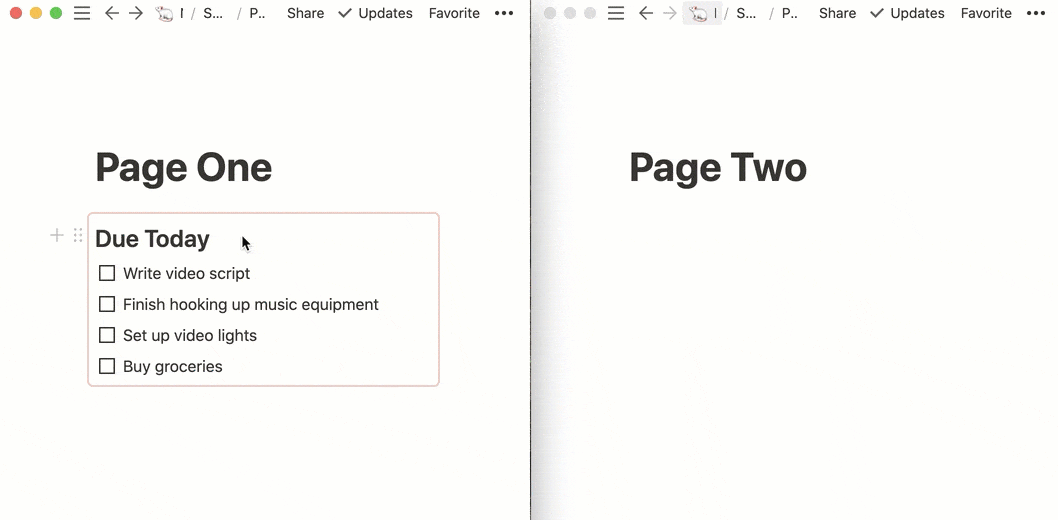
- A database
- A page
…and yes, you read that last one correctly – pages are blocks, too.
This concept is fundamental to fully understanding how to use Notion: Pages are canvases for blocks. Pages are also blocks themselves, which live on other pages.
In this guide, you’ll learn how to create blocks, edit them, and easily turn them into other blocks. I’ve also created a comprehensive list of every block in Notion, which you can use to see most of the blocks available to you.
In the video above, you’ll learn to use blocks hands-on by working through an example project – building a personal dashboard! We’ll work through this project slowly throughout the rest of the course, using it to explain every part of Notion – however, you can also skip ahead and checkout my full Notion dashboard tutorial.
Copy link to headingHow to Create a Block in Notion
You’ve got two main ways to create new blocks in Notion:
- Use the
/Command - Click the
+button to the left of any existing block
/ command.Certain types of blocks – such as headings, bullet lists, and toggle blocks – can also be created using keyboard shortcuts and Markdown syntax. Check out my guide to editing text in Notion to learn more about using these methods.
Using the two main methods listed above, you’ll be immediately presented with a pop-up menu of all the different types of blocks you can choose. You can scroll through this, but you can also start typing to narrow down your choices.
Once you hit Enter or click your choice, that block will be inserted on the page.
Copy link to headingEdit Blocks with the Block Menu
Hover over any block in Notion and you’ll see a gray six-dotted icon to the left of it, calle the block handle.
Click it to access a menu of options you can use to edit your blocks, or click and hold it to drag the block around. (On mobile, tap any block, scroll the toolbar to the right, and find the “More” button to access these options.)
Within this menu, you’ll see the following options:
- Delete
- Duplicate
- Turn Into → lets you turn the block into another type of block.
- Turn Into Page → turns the block into a page. You can either create a new sub-page on the current page, or create a page elsewhere in your workspace. Blocks nested within it will become page content.
- Copy Link → copies the URL of the block. Navigating to that link will bring you to the containing page with the block highlighted.
- Move To → move the block to another page.
- Comment → leave a comment on the block.
- Color → highlights the block in a chosen color, or changes its text to a chosen color.
On text-based blocks, nearly all of these commands can be accessed using the / Command as well. For example, you can type /comment to add a comment. Some editing features also have keyboard shortcuts, such as Ctrl/Cmd + Shift + M for adding a comment.
/ command.Certain types of blocks also have additional options. On image blocks, you’ll see an option to view the image in full-screen. Code blocks will give you options for code wrapping and code language for syntax highlighting. There are other options as well, so go do some exploring!
Copy link to headingSynced Blocks in Notion
In June 2021, Notion quietly released a special type of block called the Synced block. This block brings some significant changes to Notion, so it gets a whole section!
Synced blocks can be copied and pasted elsewhere in your workspace, and all you to see and edit content from multiple locations. If you’ve ever used block embeds in Roam Research, you’ll be familiar with this concept.
Any other block can go inside a Synced block (except other Synced blocks). You can also “turn” existing blocks into Synced blocks, which just wraps a new Synced block around them.
Once created, you can copy and paste your Synced block to other locations in your workspace. You can even paste them into template blocks and database templates.
You can use Synced blocks to create:
- Headers and footers across your workspace
- Databases that you want to see in multiple places (you can also use Linked Databases for this, but this method will let you see/edit the original database).
- Checklists and documentation that shows up inside project templates (remember to un-sync checklist copies if you want to change them on just one project)
Learn more in my comprehensive guide to Synced blocks in Notion.
Copy link to headingFull List of Notion Blocks
To see a list of most of the blocks available to you in Notion, check out my comprehensive block reference. You’ll also have the option to duplicate that page into your workspace if you like.
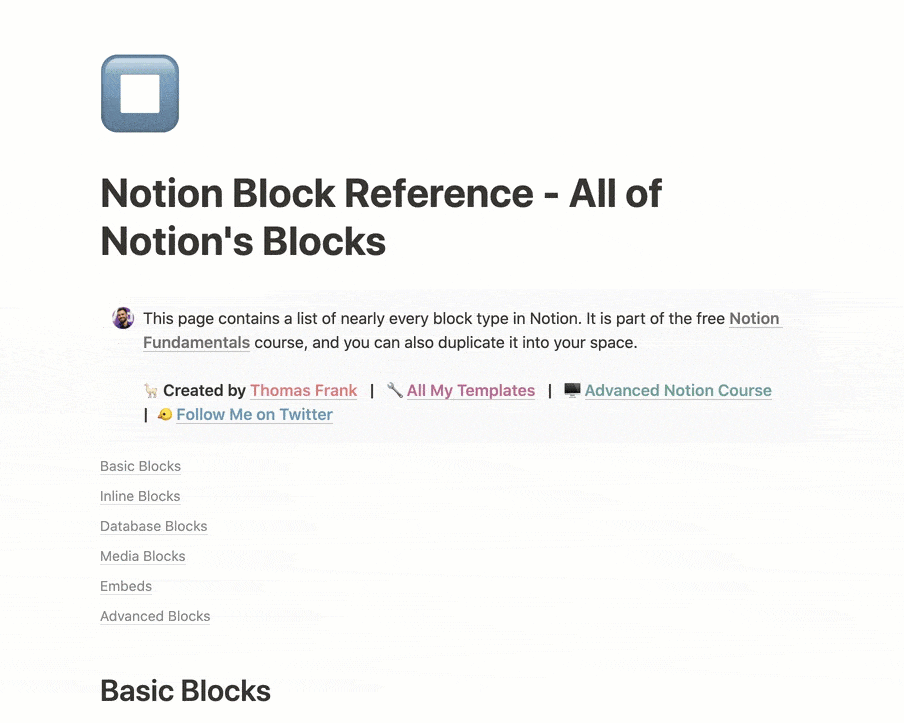
Note that the page doesn’t include every block, since there are many, many types of embeds from different services. I don’t use all of them, so there are few that I haven’t included. As I mentioned above, you can simply type the / Command to see a list of every block available.
Block Limits in Notion
Prior to May 2020, Notion’s free personal plan limited your workspace to 1,000 blocks. Since then, however, Notion has removed the block limit and the Free plan now allows you to create an unlimited number of blocks. You can see the remaining limitations of the Free plan on Notion’s pricing page, but for the most part, the removal of the block limit means that the Free plan is more than enough for most people.
The only place where the 1,000-block limit remains is on the free trial for the Team Plan. When using the trial, you can see how close you and your team have come to the limit in Settings & Members → Settings.
Pro-tip: You can always delete existing blocks to make room for new ones. But – even more pro-tip: The Guest feature in Notion is very powerful. Guests in Notion can do most of what Team Members can, so if you’re simply working with frequent collaborators, you can save money by adding them as guests.
The main limitations you’ll run into are that Guests can’t be added to Groups, and they’ll need to be added to each new top-level page. Team Members are automatically given access to all new top-level pages, unless you create them in your Private list.
Now that you understand how to create blocks in Notion, let’s take you understanding to the next level and learn how to create multi-column page layouts!
If you enjoy this content and want more, consider joining my Notion Tips email list! I’ll keep you up to speed on my Notion courses, but also let you know when I publish new free tutorials and templates:
The Notion Tips Newsletter
Join 50,000+ folks and enjoy your morning coffee alongside my latest Notion guides and templates, delivered hot(?) and steaming(?) to your inbox.