
In this Notion Fundamentals lesson, you’ll learn all about Notion’s text editing tools.
While it may not have the same level of text formatting capability as Microsoft Word, Notion does give you a lot of flexibility with your content.
Notion has a multi-featured writing system that gives you many ways to do things. You can format your text using Markdown, keyboard shortcuts, or with a toolbar that comes up when you highlight text. You can also do a lot of formatting through Notion’s universal Slash (/) command.
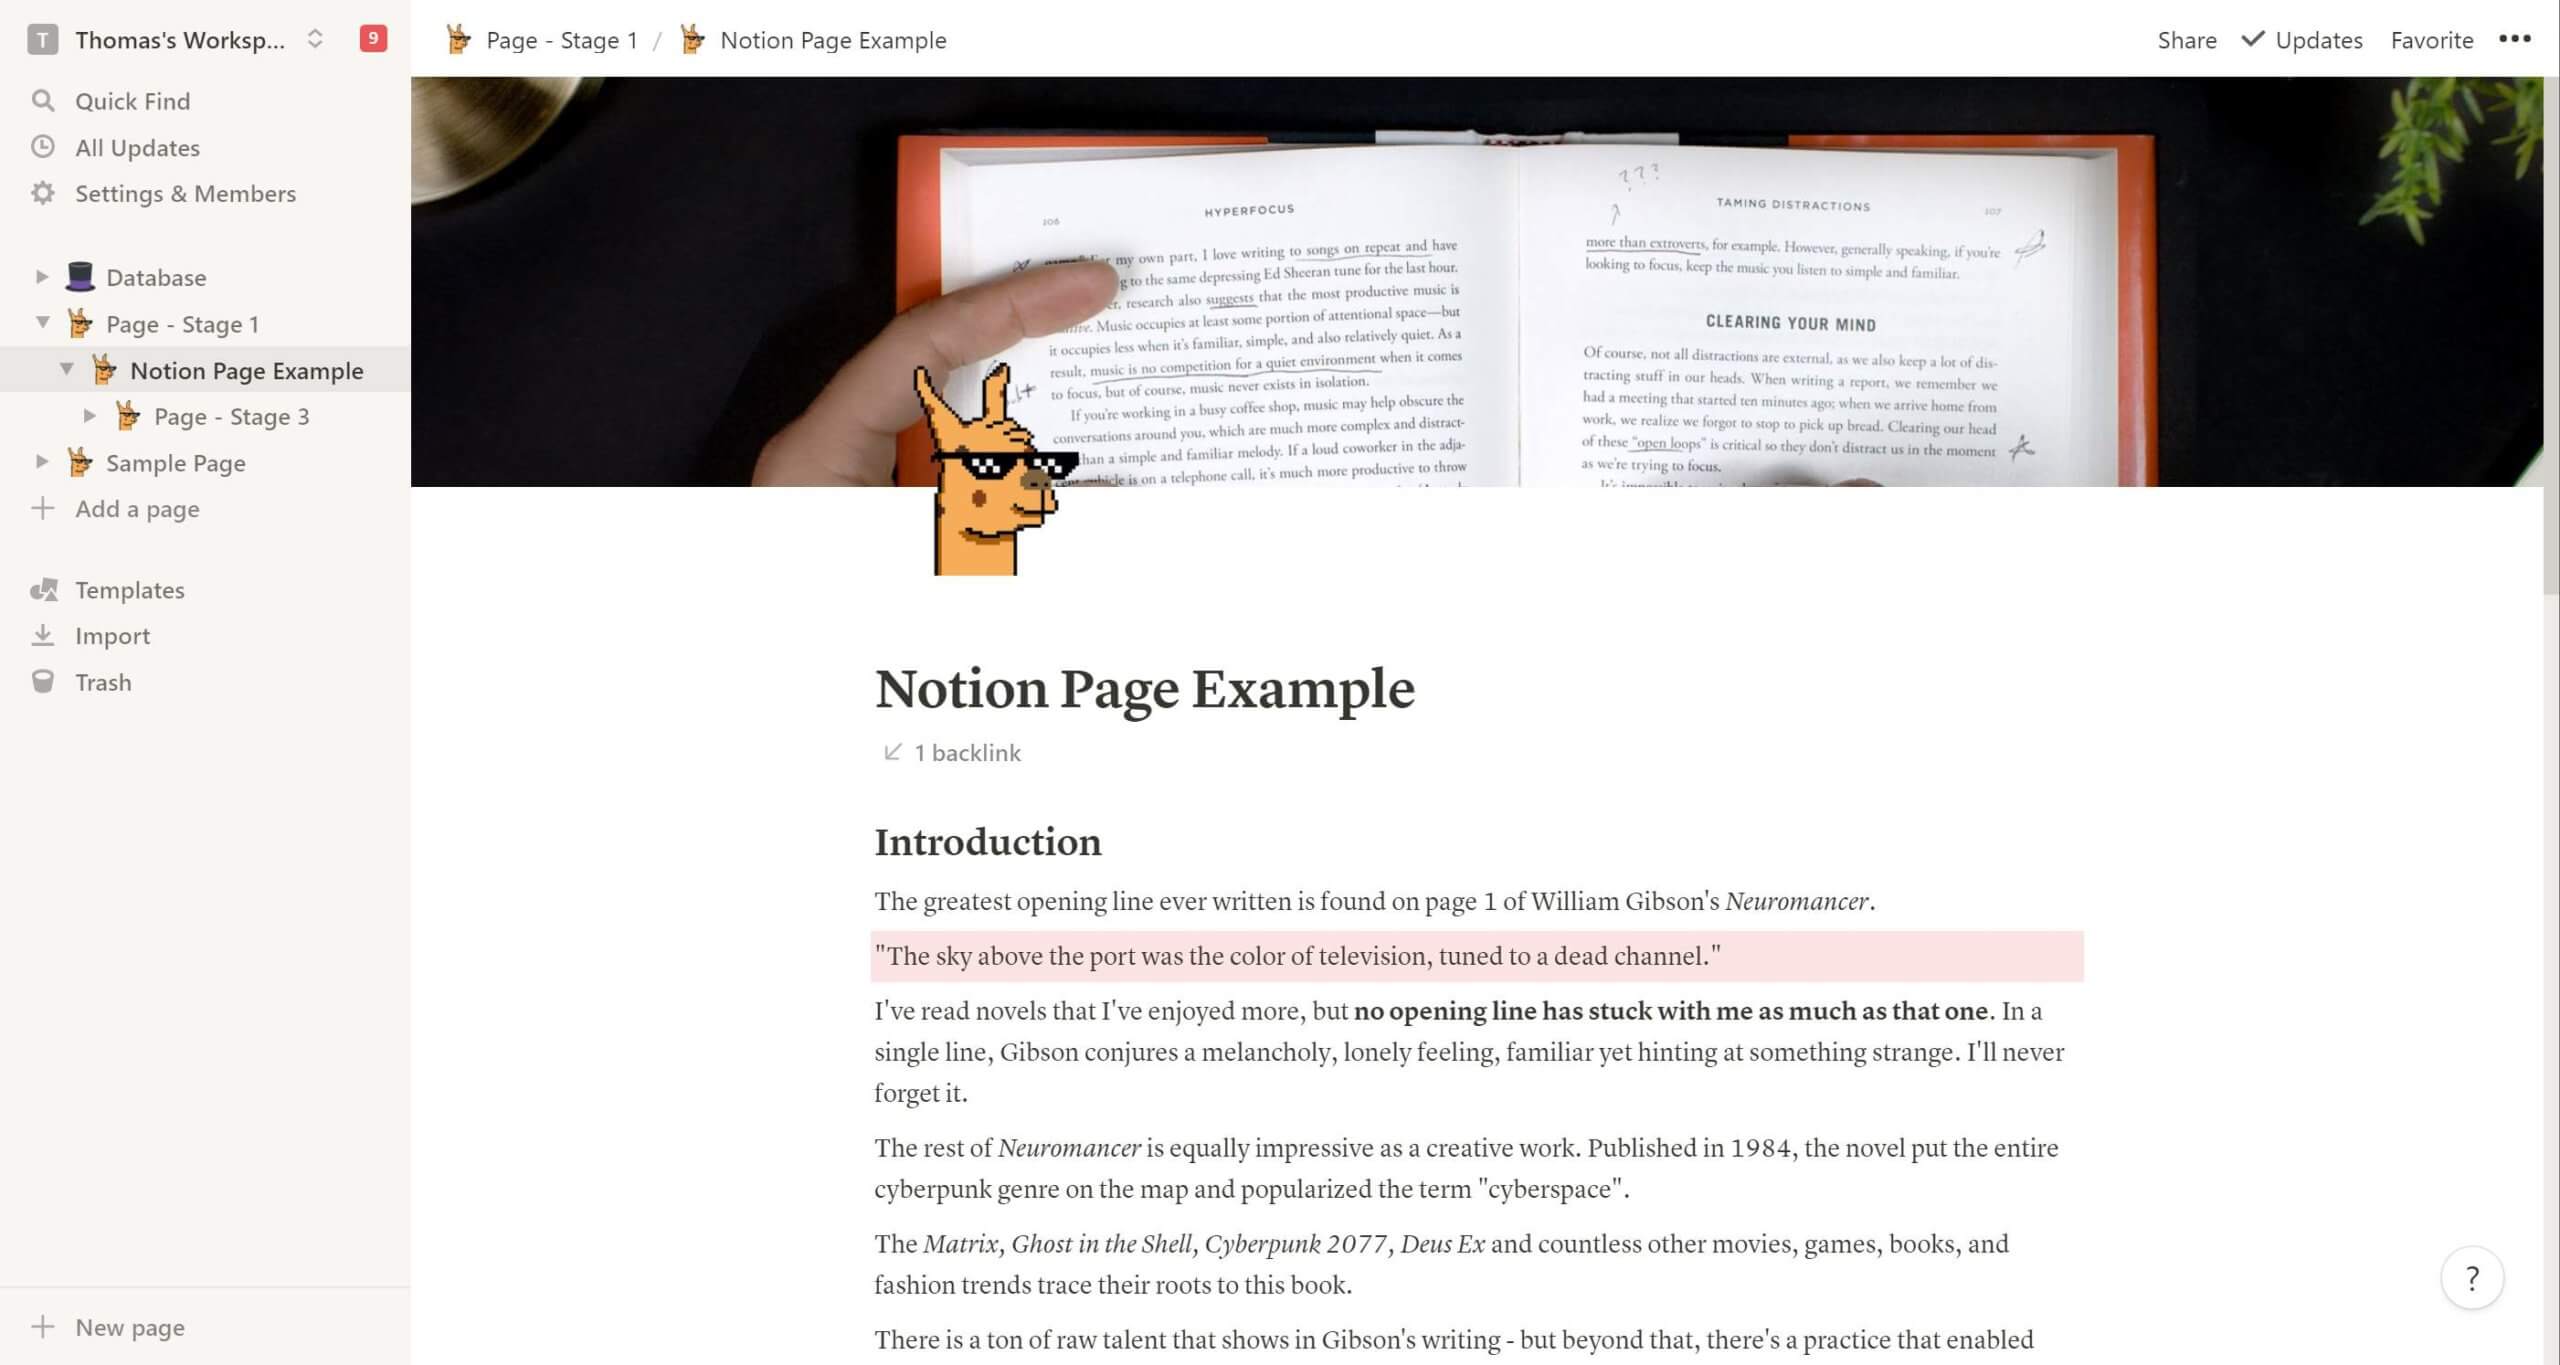
In the video lesson above, I’ll show you visual examples of all these tools. We’ll also use these tools to add new formatting to the example page from the previous lesson on creating pages in Notion.
Below, you’ll find a written version of the video lesson that includes some of the most useful Markdown commands and text editing shortcuts in Notion.
You can also add the example page above – along with all the other examples and templates in this course – into your own Notion workspace from the Notion Fundamentals hub page.
Copy link to headingText Formatting Options in Notion
At a basic level, Notion allows you to format your text in the following ways:
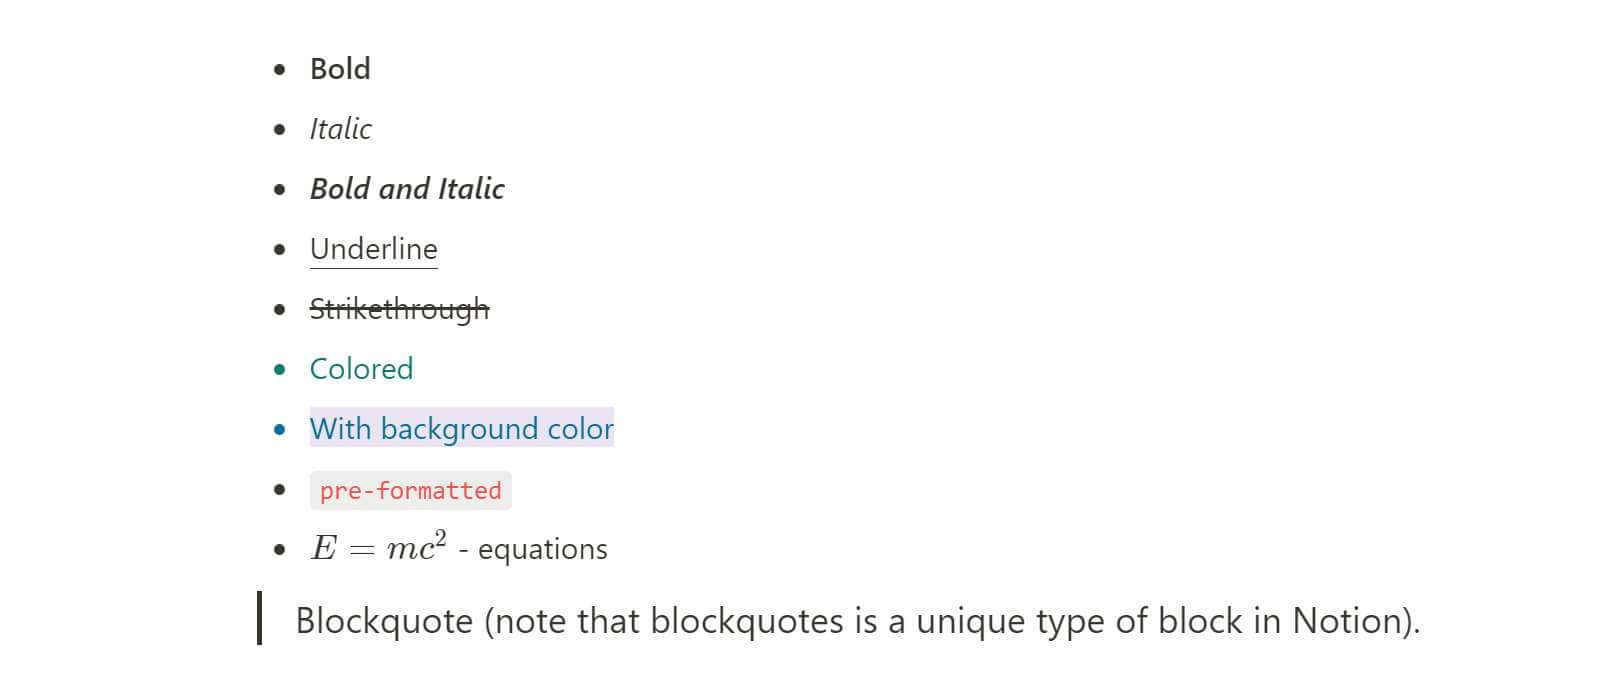
As I mentioned above, you have several options to achieving each of these types of formatting:
- Markdown formatting
- Keyboard shortcuts
- The editing toolbar
- The Slash command
Let’s cover each of these.
Copy link to headingNotion’s Markdown System
Like many modern note-taking apps, Notion allows you to use Markdown to format your text as you write.
If you already know what Markdown is and how to use it, you can head down to the next section to get a Markdown reference for Notion.
Markdown is a markup language created by John Gruber and Aaron Swartz in 2004. It allows you to apply formatting to text even when you’re using a basic plaintext editor, such as Notepad or Atom. This is done by wrapping your text in special formatting characters, such as * and _.
A side benefit to this method of formatting is that you apply formatting as you write. Instead of needing to pause in order to hit a keyboard shortcut – or go back and highlight text – you can apply your formatting as you’re typing.
When Markdown was first released, you’d write your text in any editor you wanted. To see your formatting, you’d then have to run your plaintext file through a formatting script, or open it in a Markdown preview application.
Next came purpose-built Markdown editors. These often had a two-pane UI; in one, you’d write and apply markup in plaintext. The other would show you the formatted text, but wouldn’t let you edit it directly.

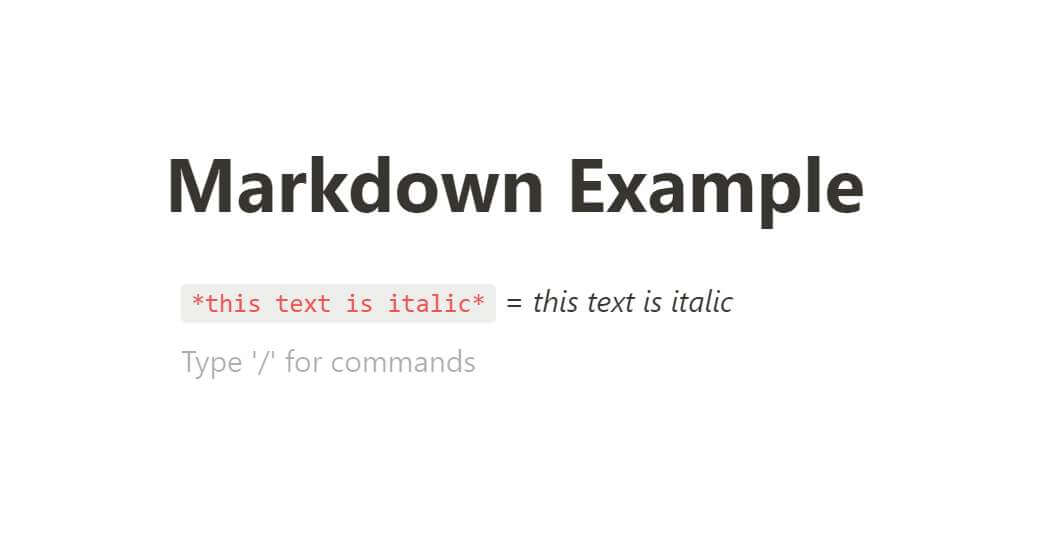
Notion does things differently. In Notion, when you wrap text in Markdown characters, your formatting changes are applied immediately inside the editor.
This is often called a WYSIWYG (What You See is What You Get) Markdown editor, and it’s my favorite type of text editor.
You’ll also find this type of Markdown system in apps like Slite, Roam Research, Bear, and Whimsical Docs (which might have my favorite text editor of any app – ask me why on Twitter).
Some Markdown purists don’t like WYSIWYG Markdown editors because they strip away the markup characters. While Notion does this, it also gives you to option to export a plaintext .md file, which will contain all the original markup. You can find this at the top-right 3-dot menu → Export. From there, choose Markdown & CSV as your export format.
Notion Markdown Commands Reference
The table below gives you a quick reference to all of the Markdown commands available to you within Notion.
Note that not all Markdown features are supported within Notion. Some (such as footnotes) are simply not included, while others (like image embedding) are achieved using other tools like the slash command.
For a full breakdown of Notion’s Markdown support, see Markdown Guide’s breakdown.
| Element | Syntax |
|---|---|
| Heading 1 | # |
| Heading 2 | ## |
| Heading 3 | ### |
| Italics | *text* or _text_ |
| Bold | **text** or __text__ |
| Strikethrough | ~text~ |
| Pre-formatted text | `text` |
| Unordered (Bullet) list | *, -, or + – then space |
| Ordered (Numbered) list | 1., a., or i. – then space |
| Horizontal Rule (Line) | --- |
| To-Do | [] |
| Blockquote | " or | – then space |
| Toggle block | > |
| Code block | ``` |
| Toggle heading 1 | > + space, then # + space |
| Toggle heading 2 | > + space, then ## + space |
| Toggle heading 3 | > + space, then ### + space |
You can also view this table directly inside Notion.
Copy link to headingText Editing Keyboard Shortcuts
You can also use classic text formatting shortcuts in Notion. If you’ve used shortcuts in Evernote, Microsoft Word, or Google Docs, then you probably know most of these already.
A few useful shortcuts to remember:
ctrl/cmd + b= boldctrl/cmd + i= italicctrl/cmd + u= underlinectrl/cmd + e=inline code
Notion has a lot of keyboard shortcuts, so it would be impractical to list them all here. Instead, I’d recommend bookmarking the shortcut guide in Notion’s official documentation.
Copy link to headingEditing Text with the Editing Toolbar
Notion also has a floating tool bar full of options, which comes up anytime you highlight some text.
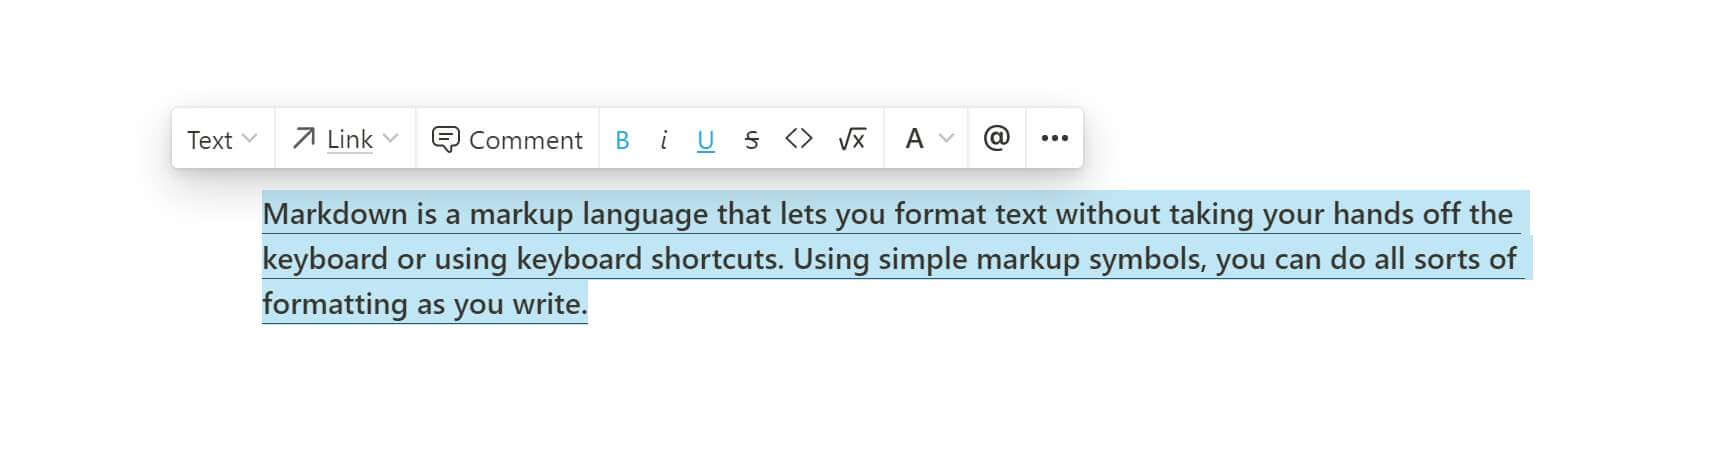
In addition to formatting options, the toolbar will also allow you to create links, add dates and reminders, and mention teammates. You can also use it to turn the entire block that contains the selected text into another type of block.
Copy link to headingEditing Text with the Slash Command
Notion’s “Slash” command – so named because you merely need to type / to use it – brings up a powerful menu full of options. As you learn more about Notion, it will likely become the feature you use more often than any other.
In general, the Slash command is used to create new blocks or to change the type of an existing block. It can’t really be used to format a precise selection of text. That’s what the other methods we’ve discussed are for.
However, there are a couple of useful formatting tricks for which you can use the Slash command:
- Change a block’s type – click anywhere in a block and type
/turn. You’ll see options for transforming the block into something else. You can keep typing to narrow this down – e.g./turnbulletto highlight the Bullet List block type. - Change a block’s text or background color – click anywhere and type
/red(or any other supported color) to zoom to that color option. Start adding ” background” to the end to zoom to that background color – e.g./red b. You can also type/backto zoom straight to all the background color options.
I find myself using these two tricks all the time. They’re much faster than the alternative methods.
Now that you have a firm grasp on text editing in Notion, it’s time to move onto learn about one of the most important features – blocks!
If you enjoy this content and want more, consider joining my Notion Tips email list! I’ll keep you up to speed on my Notion courses, but also let you know when I publish new free tutorials and templates:
The Notion Tips Newsletter
Join 50,000+ folks and enjoy your morning coffee alongside my latest Notion guides and templates, delivered hot(?) and steaming(?) to your inbox.