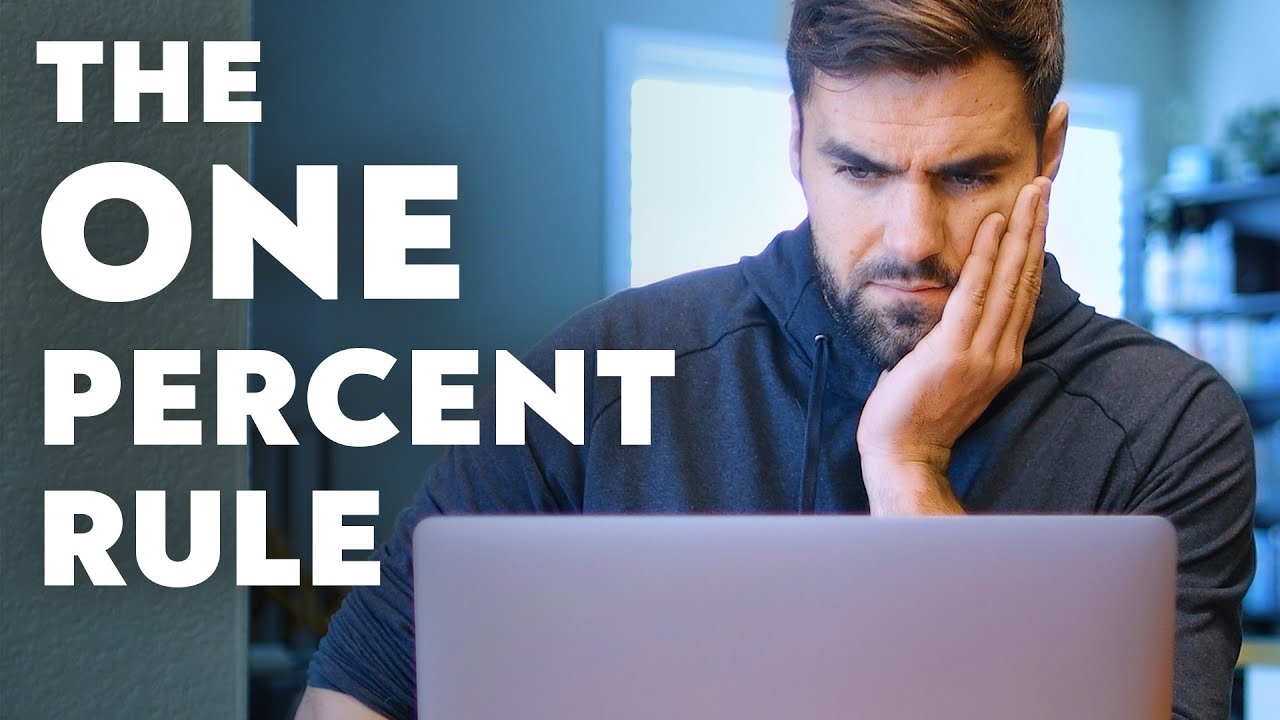
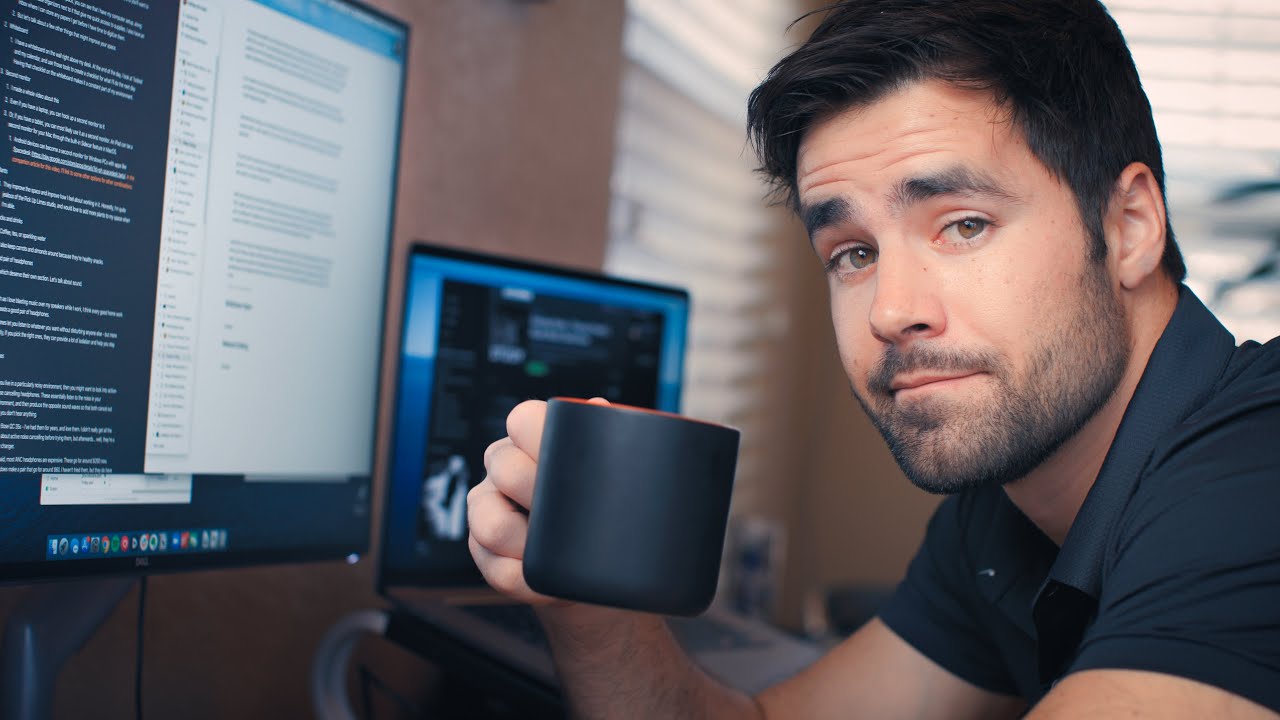
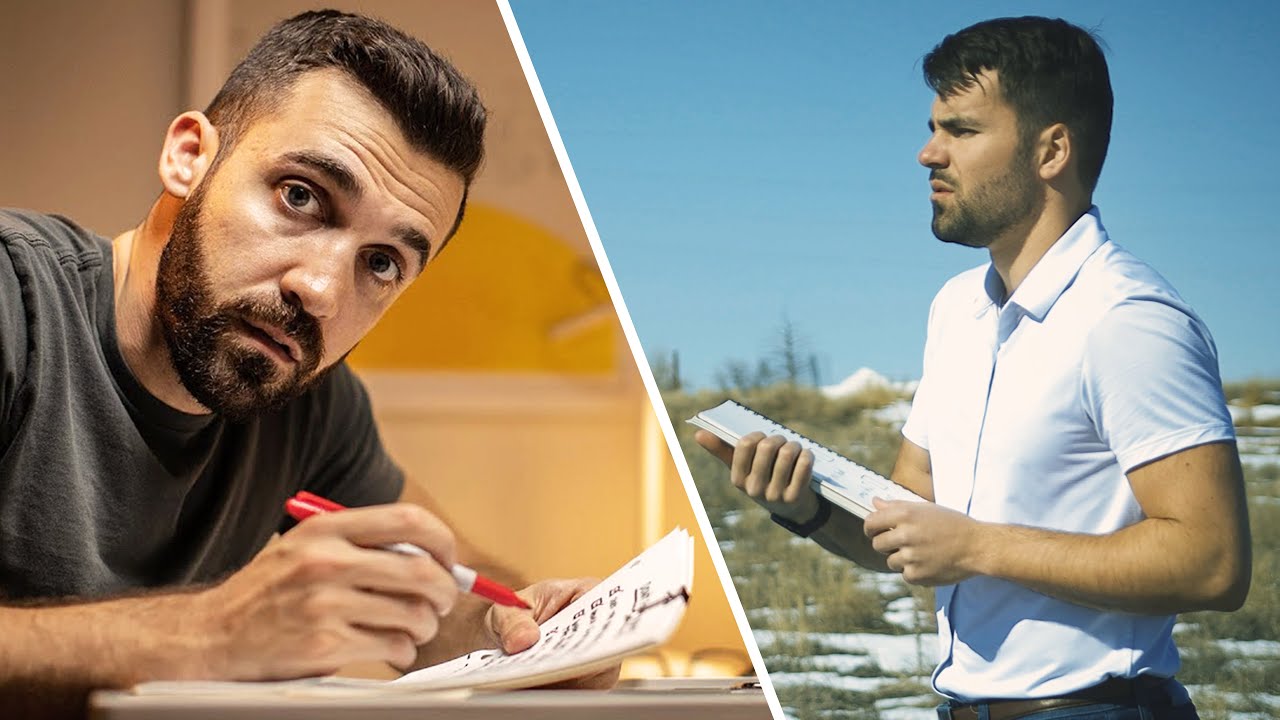
In my work, I aim to follow the 1% Rule: With each new piece of work, I strive to improve my craft by 1%. Over time, as long as I’m consistent in publishing new work, those 1% improvements really add up.
As a YouTuber, my main craft is producing videos; this means that for each new video, I focus on one or a few small elements and attempt to improve my skills with them. It also means that I try my best not to get mired in perfectionism, attempting to make quantum leaps.
I think it would be useful – both for myself and for others – to keep a journal about the incremental improvements I make with each new video. This page will serve that purpose.
If you’d like to learn more about the 1% Rule, watch this video:
Onto the journal.
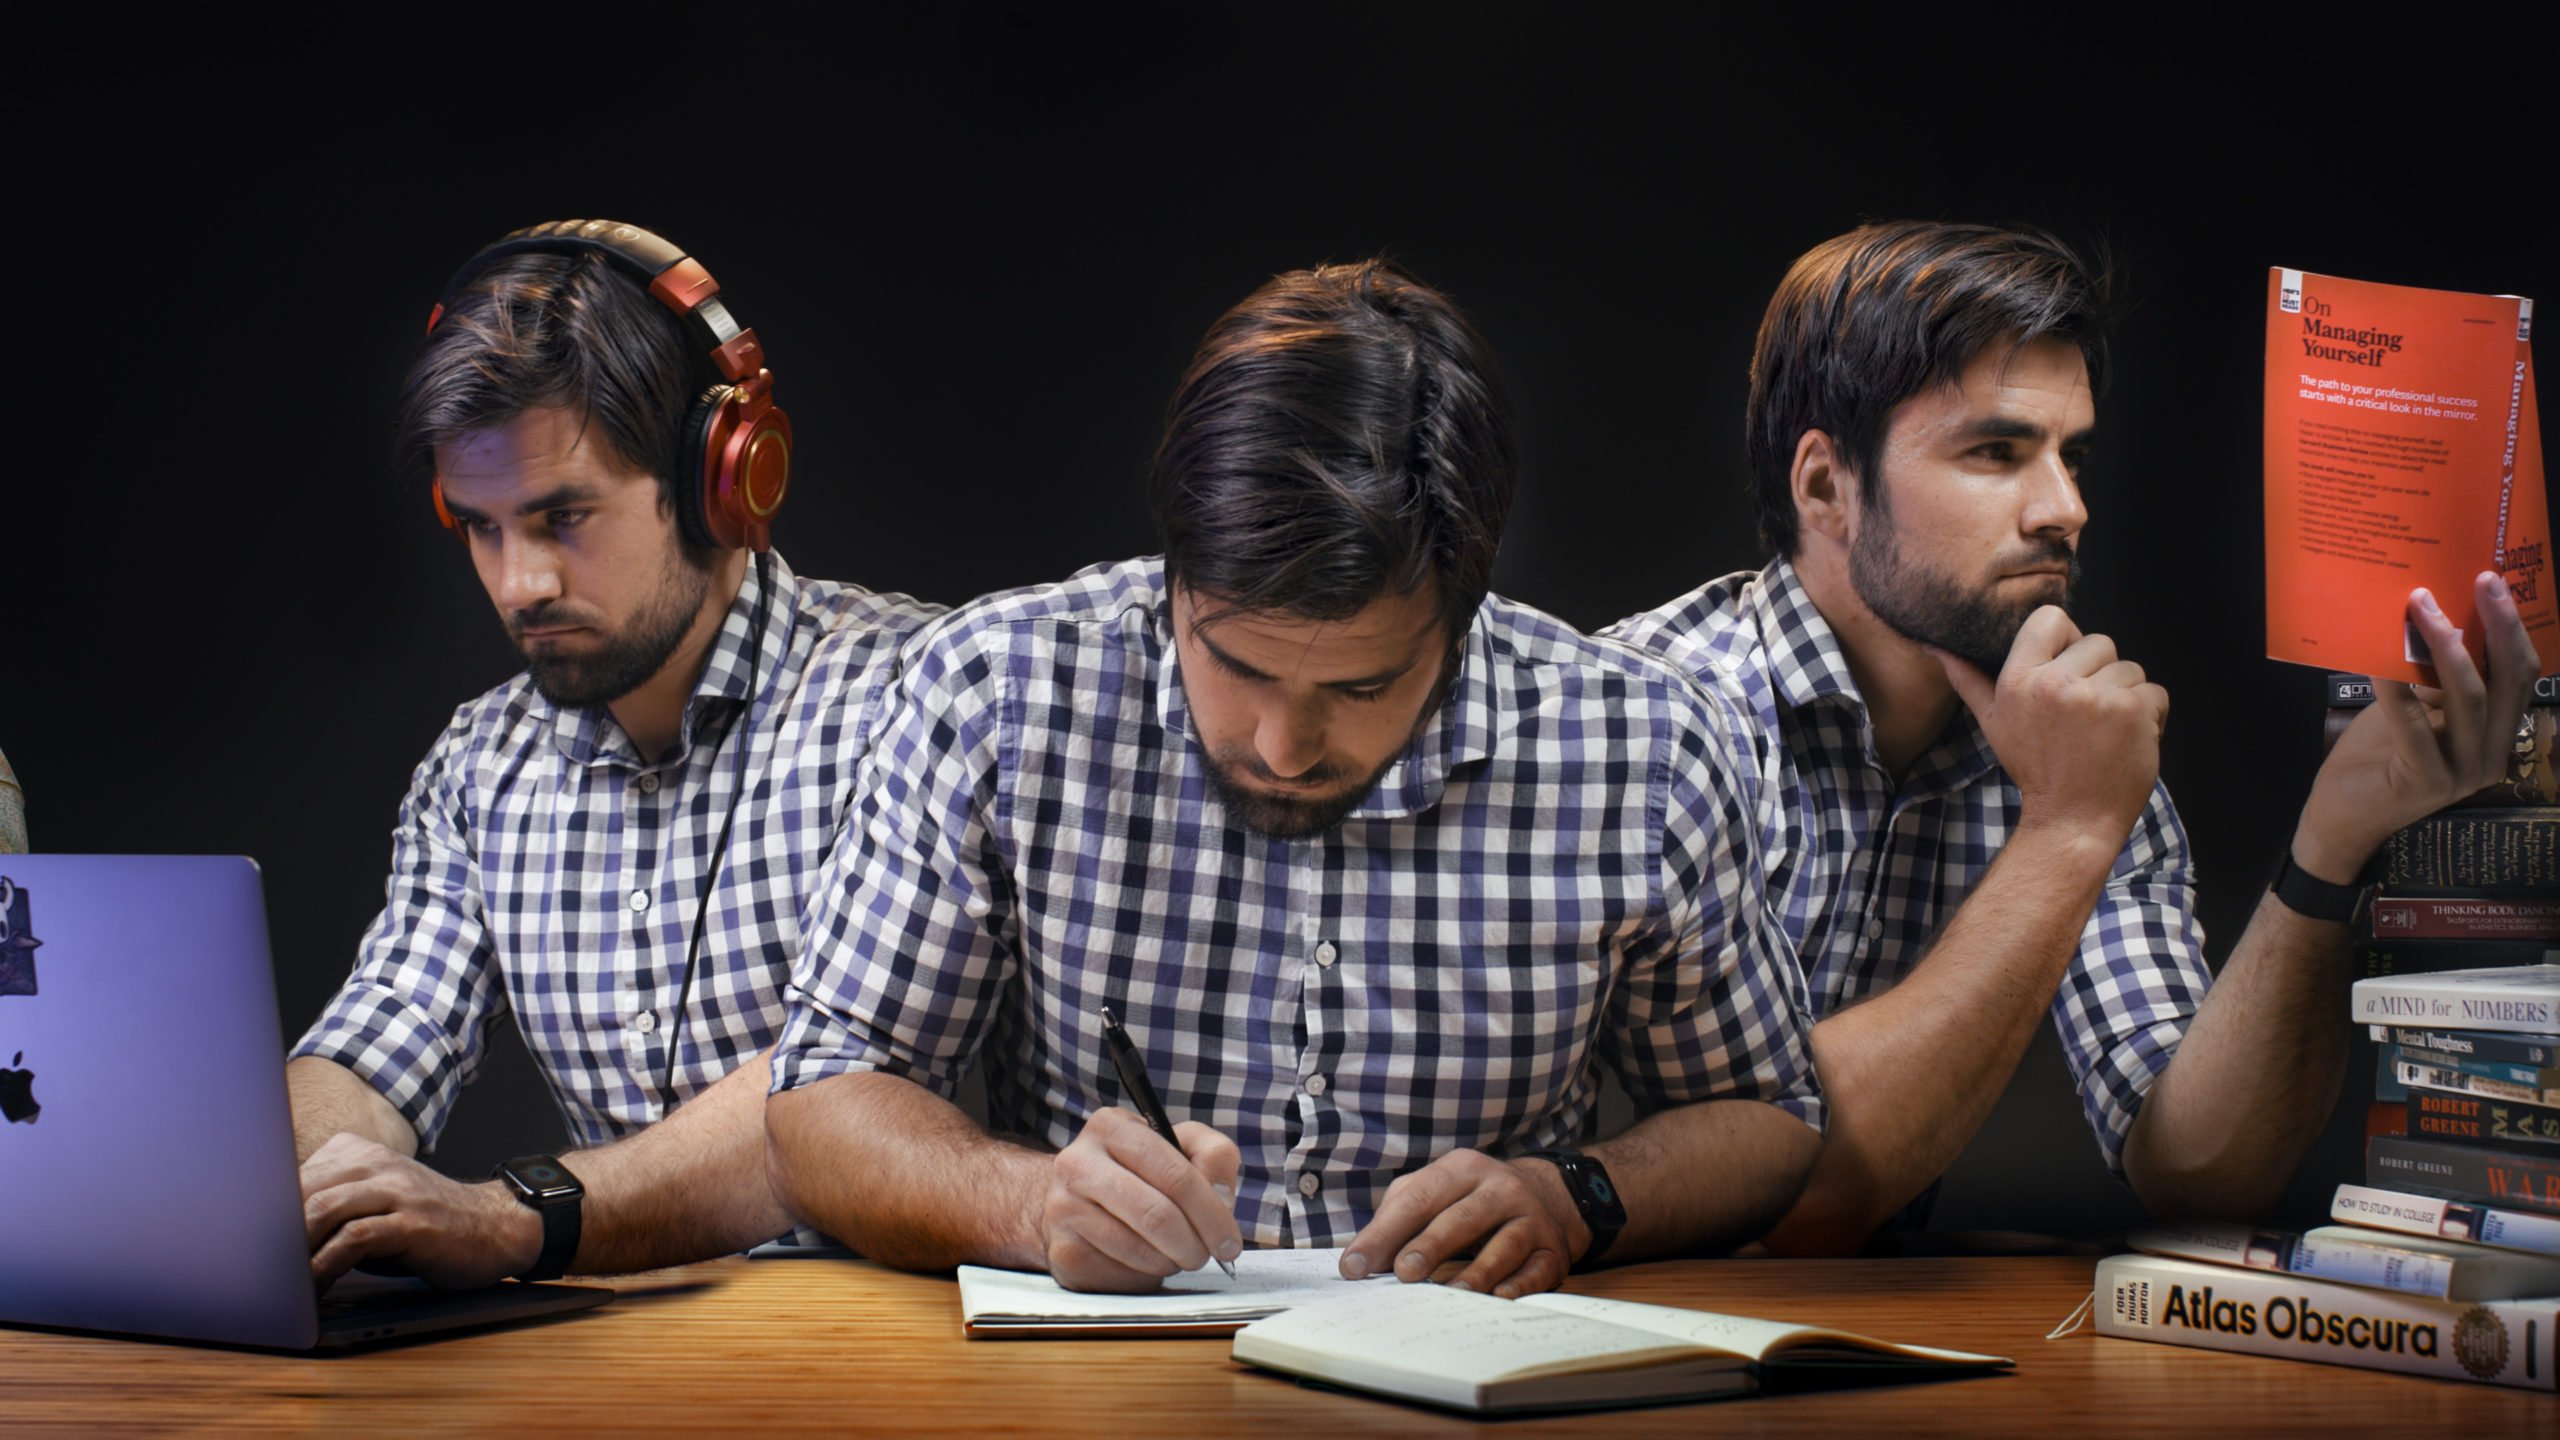
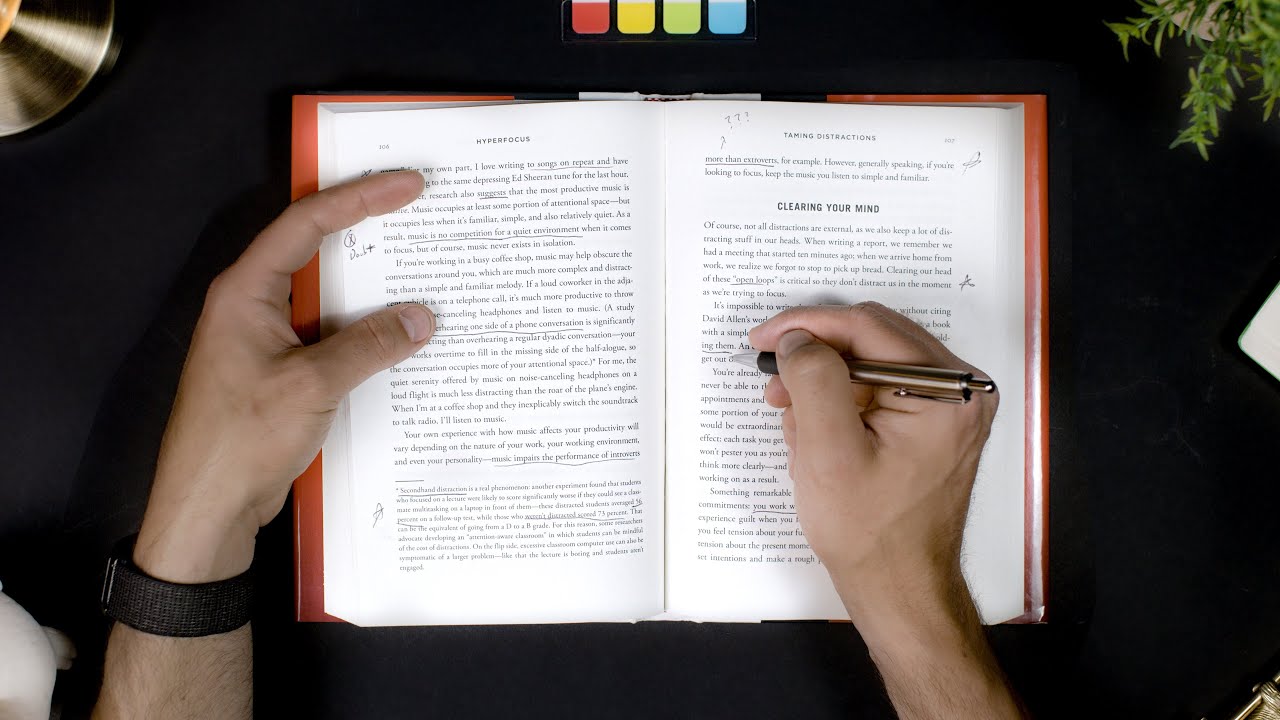
Copy link to headingHow I Take Notes from Books
Published: 5/24/20
Improvements:
- Tony (my editor) and I learned how to create volumetric fog and dusty particle effects, which are used in the section cards
- Learned how to create interesting background lighting behind props
- More practice with my edelkrone jib to get some of the coffee b-roll shots
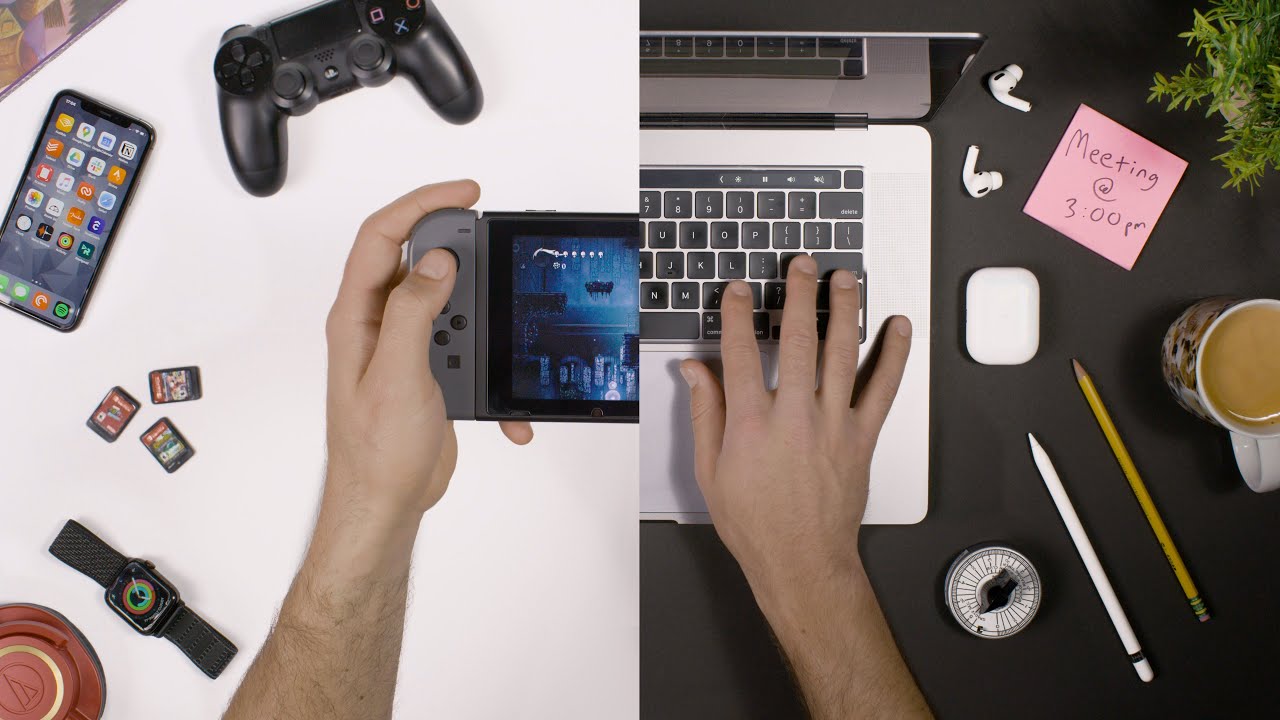
3 Habits for Better Work-Life Balance
Published: 5/16/20
Improvements:
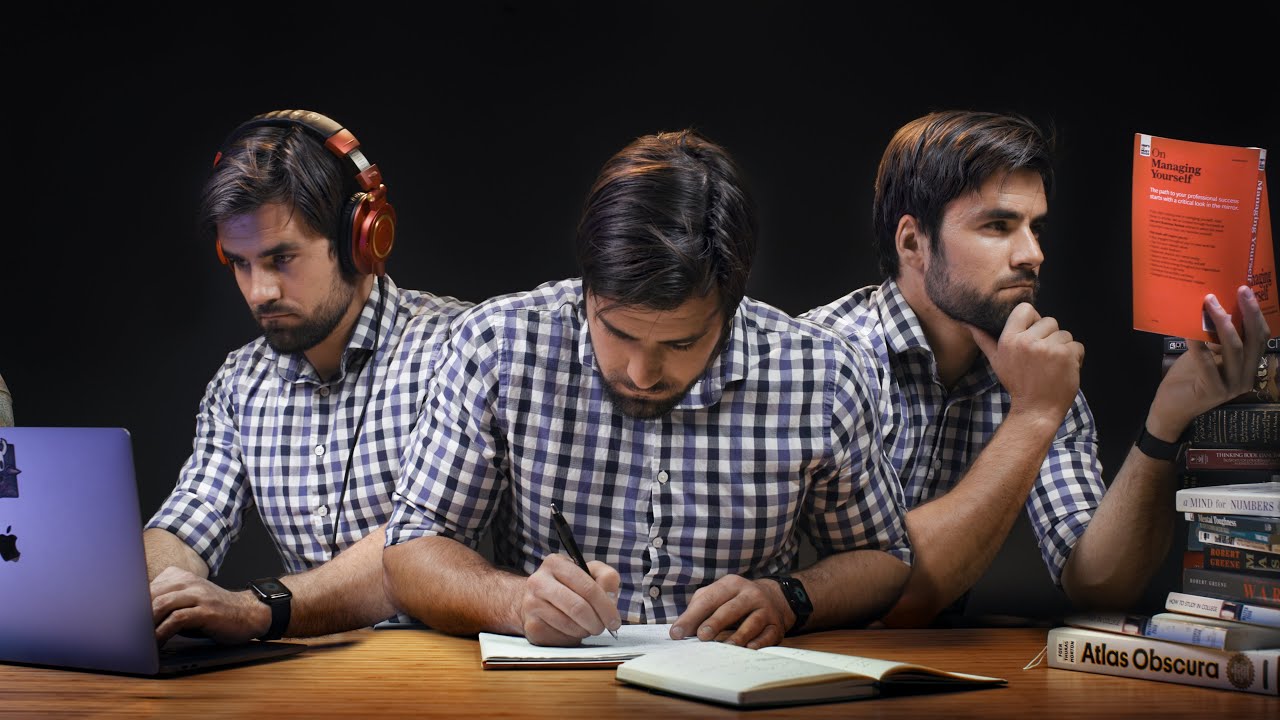
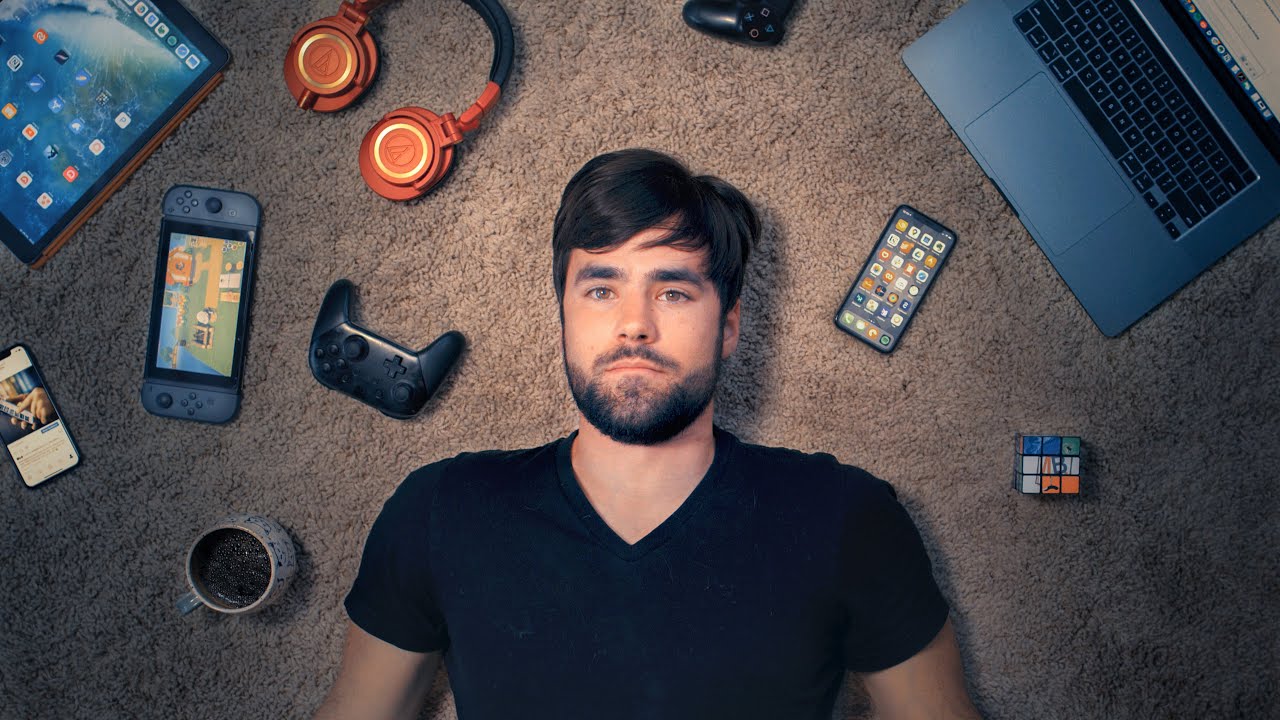
- Lots of effort put into the thumbnail’s composition; it stitches multiple pictures together (see the process in the Production highlight reel on my Instagram profile)
- Heavy, heavy sound design – made use of a lot of panning, reverb, and clip-specific EQ to achieve a better mix
- Learned how to create a rising number counter in After Effects, along with a manually-created LCD screen effect
- First use of a 360 camera
3 Ways to Trick Your Brain Into Doing Hard Work
Published 5/9/20
Improvements:
- – Spent a lot of time learning new techniques in Lightroom and Photoshop for making better thumbnails. Can you believe I didn’t know what the burn and dodge tools did before this?
- While I didn’t have time to work it into this video, I started learning Adobe Illustrator this week. Next week’s video will have some dope motion graphics as a result!
4 Rules for Organizing Your Phone
Published 5/1/20
Improvements:
- Taught myself how to do that cool low-framerate effect for animations
- Added sound design for movement that’s not just standard whooshes – I think a whoosh would not have paired well with the low-framerate animation.
- There’s also a mistake I learned from here – the overhead cam was set to auto white-balance, which did not play well with the iPhone screen’s constantly shifting True Tone.
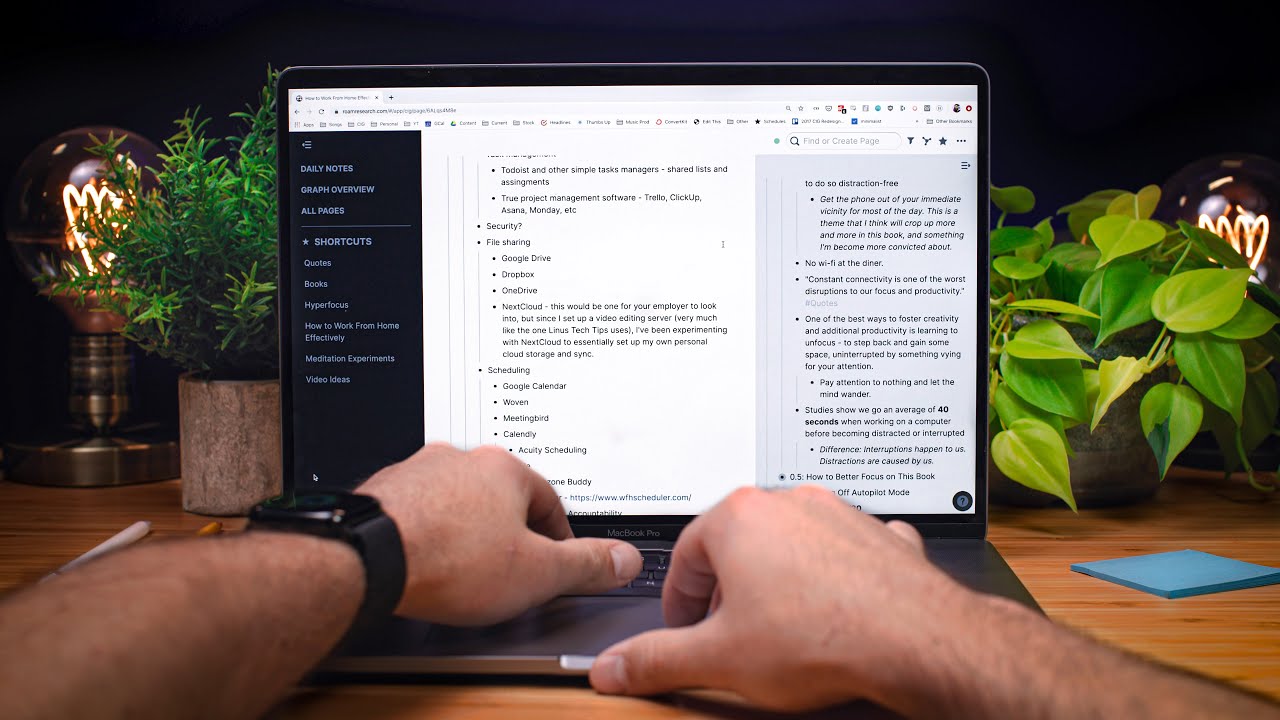
This Note-Taking App is a Game Changer – Roam Research
Published 4/30/20
Improvements:
- Used a second camera on a slider to mix up the A-roll. The crews I’ve worked with on my Skillshare classes have done this, but I’d never done it myself. Couldn’t bring myself to cut to Camera B without looking at it, though.
- Got a lot better at using multi-camera sequences. There are three “cameras” running – the two normal cameras, plus a screen recording. Making them all a multi-cam sequence kept everything in sync; I was then able to make copies of that multi-cam sequence, using the 2nd for the screen recording and tweaking its timing relative to the main copy in order to make things smoother.
- Learned how to reverse a clip for this video! Bet you can’t figure out which clip is reversed (hint: It could be video or audio)
- Got better at taking photos with the intention of combining them together through masking. Yep, the thumbnail is a lie. Can you guess how?
Working from Home: How to Stay Focused
Published 4/27/20
Improvements:
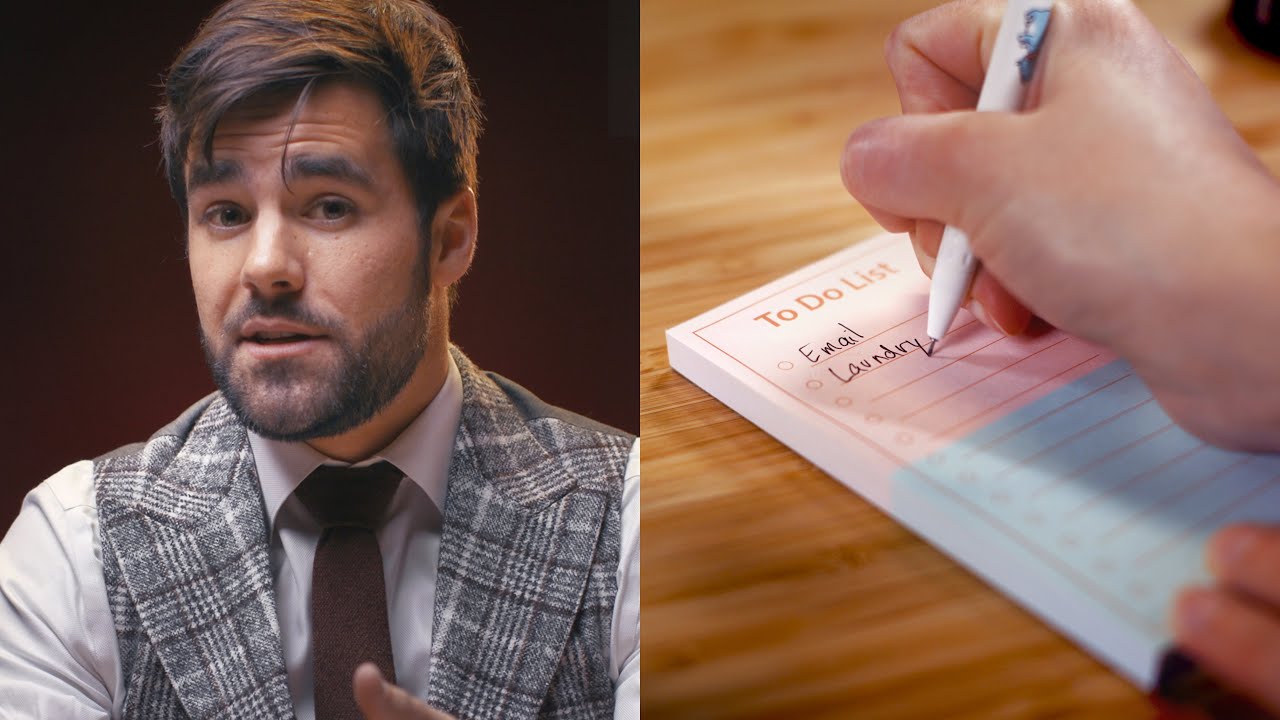
- Focused on learning how to add in a bit of skit comedy, inspired by UpIsNotJump. As with the addition of voice-over segments, the idea here is to mix things up occasionally throughout the video in order to keep the energy high.
- Scripting and writing – this is one of most tightly scripted videos I’ve made (to accommodate the skits).
- Sound design – experimented with automating the parameters of the reverb in the intro in order to make it change over time.
Working from Home: How to Plan Your Day
Published: 4/1/20
Improvements:
- Set-building: This was the first set I built using the new paper backdrop, which I also had to learn how to install. I learned how to use a hidden Quasar light to create the gradient, and built cardboard flags to control light spill for the background and hair lights.
- I wanted the reel-to-reel to spin continuously and never skip due to a jump cut. So I had to film the video twice and alternate angles anytime I didn’t cover up a cut with B-roll
- Combined two different creative LUTs to achieve more retro looking skin tones. I also experimented with masked/feathered color grading layers on the sides that have the “faded film” slider pushed up, which did an ok job of simulating a bit of haze without making the middle section look too faded.
- Got a bit better at EQ’ing the dialogue – though I did screw up with the mic positioning on the wide shot, which is why it’s a bit echo-y when I lean forward.
- Got some practice setting up a the cameras and lighting to make a remote “interview” look good (Martin’s Kitchen System segment)
Working from Home: How to Set Up Your Workspace
Published: 3/30/20
Improvements:
- Combined multiple different sound effects to create a more convincing sound for the printer smashing shot
- Got better at using background lighting for the set (I feel this set is much more well-balanced than the one I made for the habit-tracking video)
- Collabs. Lots of cameos in this video, and for me, getting everyone onboard and collecting footage was an organization and collaboration upgrade.
- The new llama transitions use cool transitions that I found in Premiere Composer
- Got better at mounting the C500 in overhead/high-up positions for varied shot angles
- The hallway shot used a 100mm lens. Before this, I’d often read about using longer lenses to get a unique look for “wide” shots, but I hadn’t tried it.
How to Actually Go to Bed on Time
Published: 2/29/20
Improvements:
- Delegation: I had to fly to a conference and speak at it right after filming this video, so the entirety of the edit and b-roll was done by Martin and Tony. Delegation – and the act of letting go – is a skill in and of itself; it’s also one that I struggle with quite a bit.
A Response to Matt D’Avella’s Productivity System Video
Published: 2/26/20
Improvements:
- I went a bit overboard on this video. The intro attempted to pay homage to Edgar Wright, and it alone took several days and forced us to learn a ton of new stuff.
- We recorded actual foley audio for the intro sequence
- I also bought access to the Hybrid Library, and learned how to do an OML export. The entire video’s sound was mixed in Audition, not Premiere.
- Script-writing improvements: All the actions and lines in the intro were scripted.
- Better script formatting in Notion, with table of contents added for easy navigation, color-coded headings that denote on-camera or V/O segments, etc. Still trying to figure out how to make this work with our traditional B-roll list template.
- Eye zoom animation required learning a bunch of new After Effects techniques. Masking and zooming with a virtual camera were things I already knew how to do, but refined here. I also automated the parameters of chromatic abberation and distortion effects to make the zoom more convincing.


